Welcome to TNW Basics, a collection of tips, guides, and advice on how to easily get the most out of your gadgets, apps, and other stuff.
Discord has become the go-to service for gamers and non-gamers alike for text and voice chat servers. It’s a versatile way to keep in touch with large groups of people, considering each server supports multiple different “rooms.” It’s not just for gaming groups or large political debates, either. You can start a server just for your friends, to keep in touch in the time of social distancing.
Here’s how to start up and manage your own Discord server.
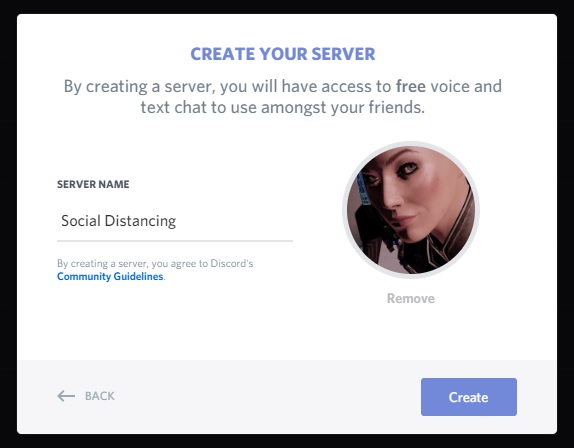
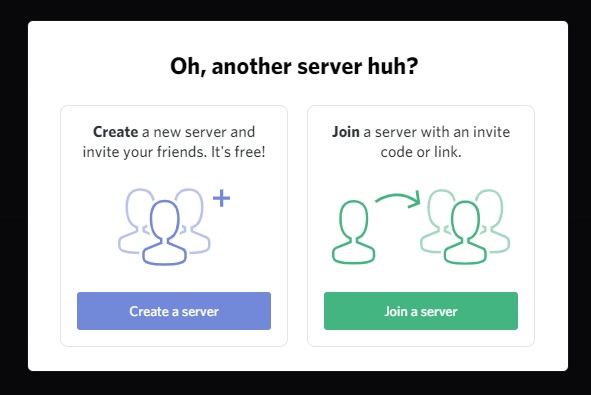
First step: Go to your Discord and scroll to the bottom of your list of servers. You’ll see a plus symbol, and clicking on this will give you the option to start your own server. From this screen, you can name the server and upload a picture.
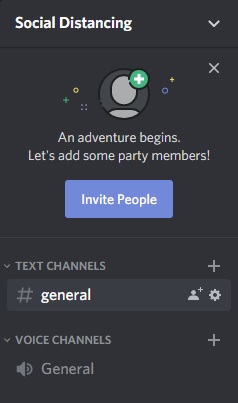
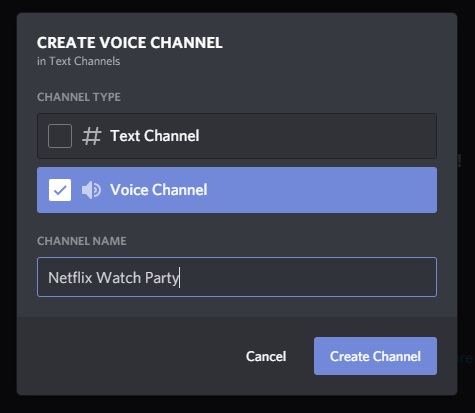
Once you’ve got the server setup, you’ll have a single text and voice channel each. You can start new channels by clicking the plus sign next to each category. It’ll look pretty basic on start-up, but you can spruce it up to your liking. Starting different channels will help the place look more populated. You can also create categories, into which you can sort your text and voice channels. This is helpful if, for example, you have text channels set up for movies and books, and others for general chatter.
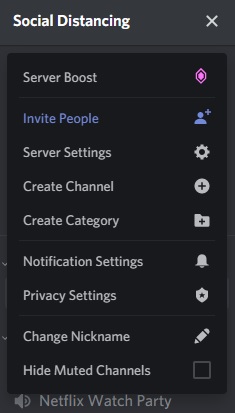
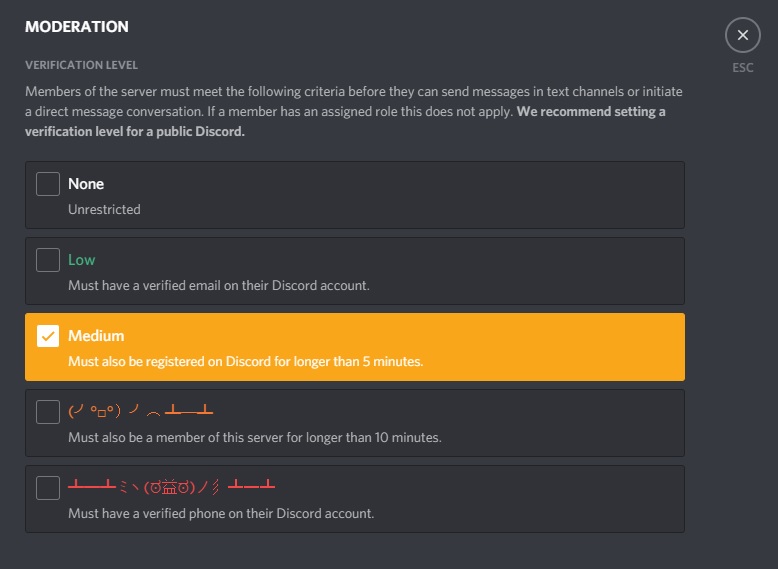
Within the server’s menu, you can do things like manage how many notifications your server sends out, upload custom emoji, manage each member, and even create a custom widget. Each option is worth exploring individually, as you can customize your server to your liking. I do recommend setting notifications not send for all messages by default — depending on how many people you invite to the server, notifications for every single message can be beyond annoying.
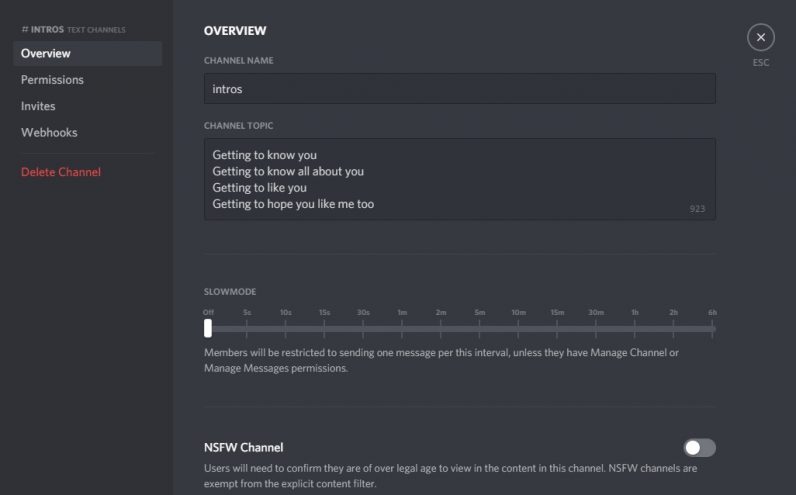
Also, each text channel has a menu within which you can customize its name, topic, and who has permission to do what. It’s really up to you how precise you want to be, but this will probably be a boon to those with a penchant for micromanagement (i.e. not me).
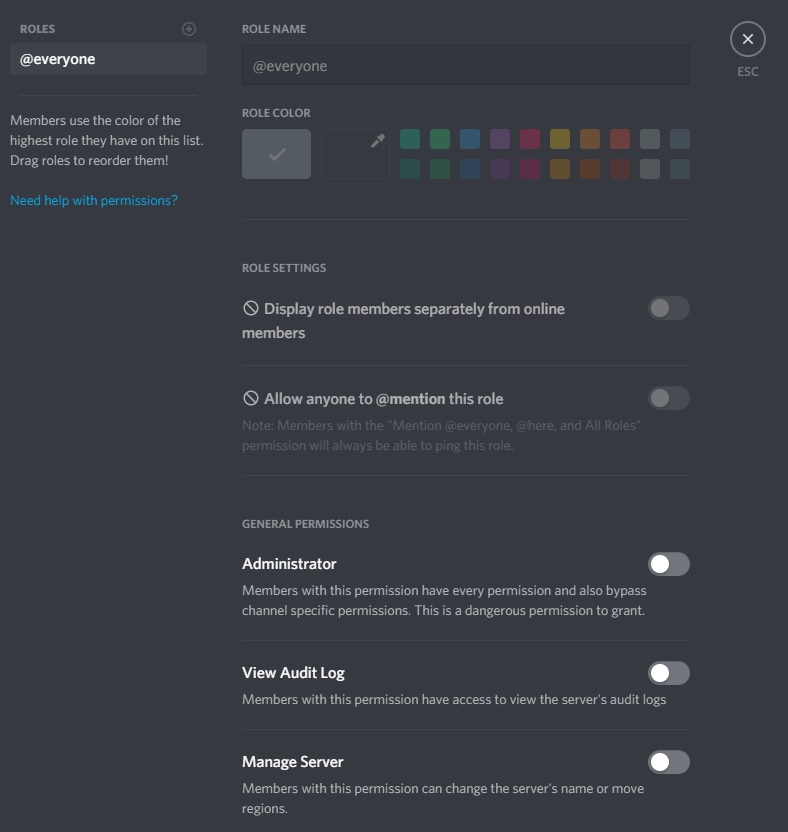
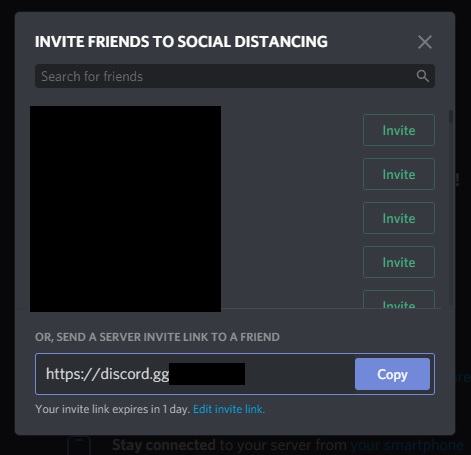
I usually wait until after all this is done to start inviting people, which you can do from the server’s drop down menu. Selecting “invite people” will give you the option to invite your Discord friends or to copy a server invite link to send out to a group of people — this is how I recommend inviting friends and family who might not already have Discord accounts to join the server. The links usually expire within the day, but you can also customize it to last forever. Once people join your server, you can assign them roles within server, which will change what they can do. You can edit what each role can do within the server’s settings menu.
And there you go: the basics to setting up a Discord server for you and your friends. Good luck!
Get the TNW newsletter
Get the most important tech news in your inbox each week.
